Showing posts with label Painting. Show all posts

1/07/2013

How to: Galaxy ring


A quick way to create a universe to wear on your finger.
If you don't want to print a galaxy pattern, you can also paint it. I mixed violet and shades of blue. Sprinkle glitter on it when it's still wet!
Let it dry, then glue the cabochon on the paper. Let dry and cut properly around the cabochon to get rid of excess paper.
Looks like this now.
Varnish the back with ..varnish, I used Marabu. It will prevent your paper from getting wet.
Hotglue the cabochon to a ring base.
And done :) Next time I'll use more glitter and maybe even a bit of silver acrylic paint for more structure. Or I just go print something out, but this is less fun I think.


7/01/2012

Johnny & Helena photo frame


I love Johnny Depp & Sweeney Todd. I also admire Helena Bonham Carter. So I painted a frame in a simple black and kept it simple with a tiny photo of them.


5/28/2012

Someone recreated my painting! =)

I'm always happy when someone feels inspired by my stuff and decides to do their own version. It's one thing putting a project on your list of favourites (also a thrill to me) but it's another to post your own creation of it. So did Dana B.:

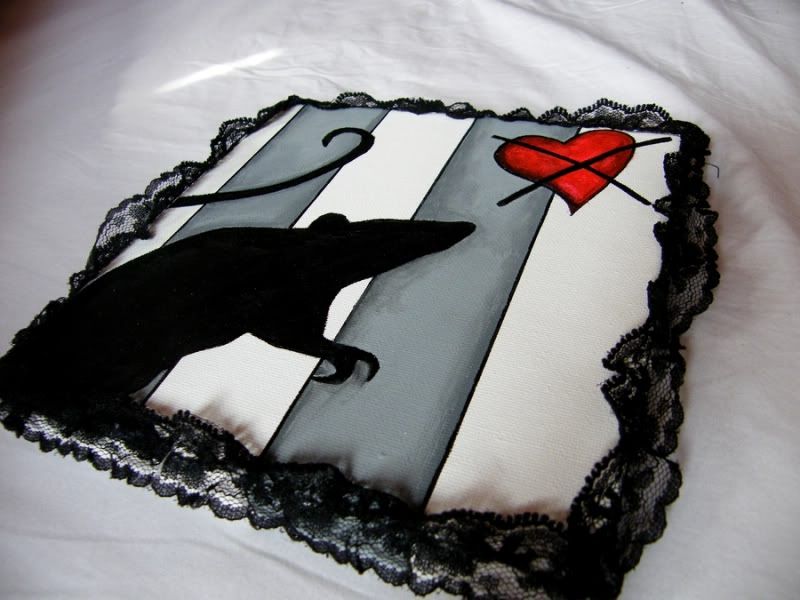
As you can guess, it's the plaque rat painting I recently posted.
I like her version :)

I wanna see moooore! :D

5/17/2012

How to: Plaque rat painting


You can listen to Emilie Autumn while doing this.
It consists of three simple steps :)

Sketching
Painting
Adding lace borders

Have fun!


5/15/2012

How to: Union Jack shorts

As you know, I'm going to London in June and being a total UK-addict since I was sixteen, it was high time for Union Jack shorts. Last weekend I grabbed some old jeans and started painting. :)


After:


Yes, I'm very looking forward and having hopes for sunshine.
Btw., if you ask me, the british weather is just fine. Whenever I was there - blue skies, sunshine. Even in my three months when I lived there, there were only maybe 2 rainy days.


5/07/2012

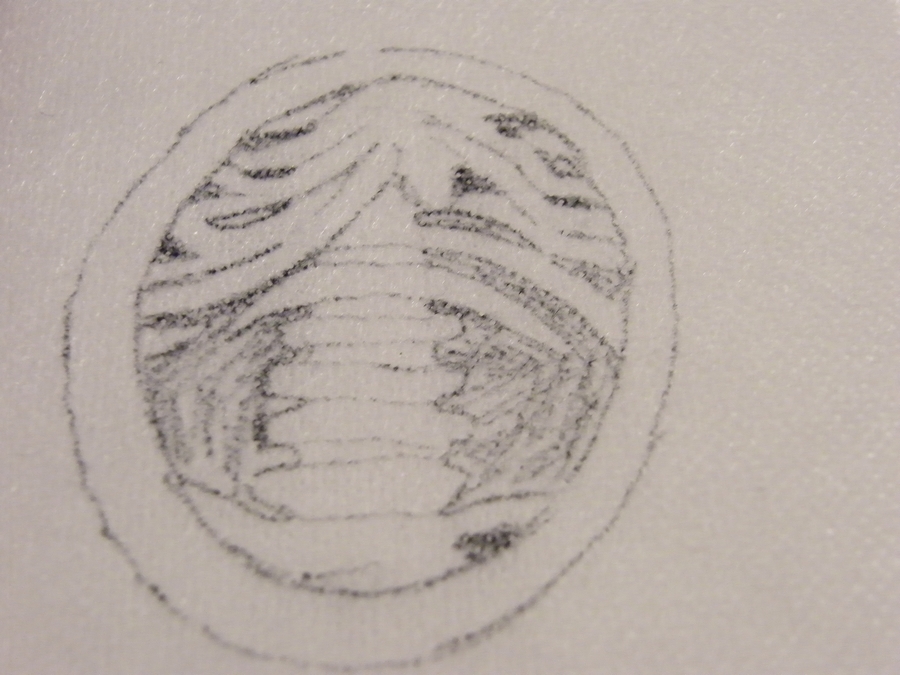
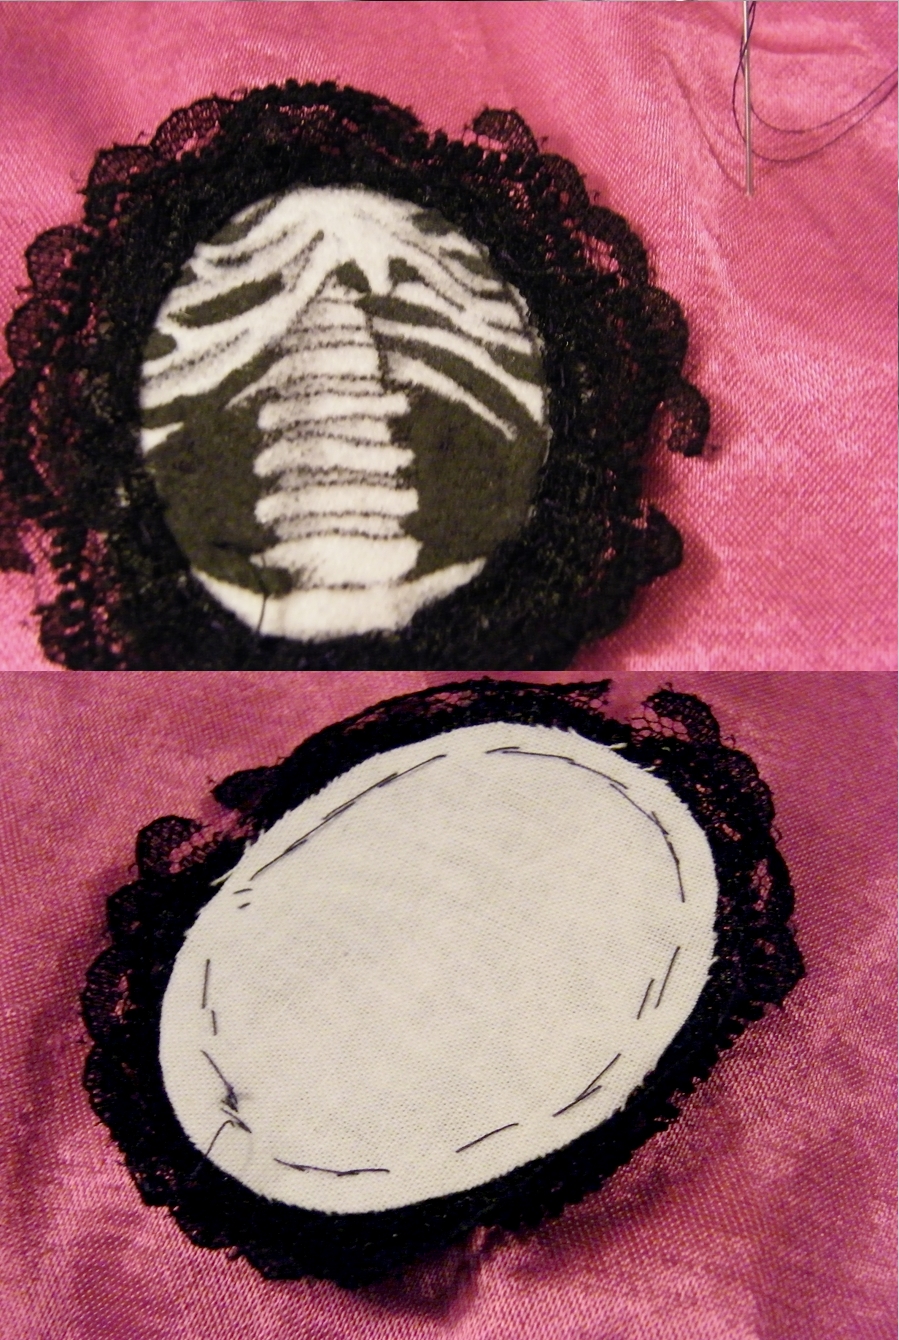
How to: Fabric Ribcage Cameo

Tutorial for:

Original found on Ebay:


Steps

1. Make a stencil
2. Transfer to fusible interfacing
3. Cut out and paint dark parts
4. Add shadings
5. Iron on white cotton (optional, or just a white stable fabric)
6. Cut out & handsew lace border on.
7. Sew on satin ribbon
8. Sew on felt (for stability) & add brooch needle
Can be used for:


...aaand many other things... :)


5/01/2012

How to dye feathers

Recently Michelle (her blog -> http://miss-miserys.blogspot.de/) gave a variation of feathers to me :) I dyed some of them. That's super easy using La Fiche Directions (Hair dye). I've had them at home (2 shades of blue & pink, turquoise).
That's what the feathers looked like before:


During the process:


And in the end:


Let them dry and afterwards you'll have more colour in your life :)
They're a litte ..scruffy..now.. harassed by the haircolor chemicals maybe.. I should've used a conditioner xD
Here some photos of the other feathers:


8/12/2011

How to: Suffering Bear-Bag

Type of project: Turn plushie into a bag
Inspiration: Emilie Autumn's bear "Suffer" (who's got stolen :/)
Took me: ~ 1 hour
Material: Cheap plushie, needle & (thick black) thread, fabric scraps, water colour & fabric paint, carrying strap
Style: Emilie Autumn-ish :) <3


I LOVE this bag. I wanted a plushie that I can turn into a bag for longer, plus I wanted a teddy that I could destroy. The combination was brilliant. The plushie was cheap, about 5-6 €. I removed the stuffing in the belly area, only there! Then I covered the passage between belly+legs with stretchy fabric to keep the stuffing separated. Then to the decorations: a scar with a gradient of red. I also accentuated the ears and changed the snout. Don't forget to sew on the strap!
It was very popular when I carried it in public :) There's no age limit for plushies!
Only drawback: Little space for stuff.


8/03/2011

How to: Stenciling dead icons

Ever thought of keeping them alive on your clothing? This project of mine is already 2 years old, I found it on my computer. If you'd like to know how to stencil, follow this link: 


How to: Diamond-Tees

This idea came up before I fell asleep (my most creative minutes...) and I decided to do it together with my boyfriend :) The pattern we designed ourselves, cut it out and lay it on our shirts. We used a sponge for a rather scruffy, untidy look which we aimed and the outcome was great :) I also added three black studs to one shirt ^^


Make your own diamond tees too!