

I've found this template on Pinterest and it led me to this blog. As I don't speak Spanish, I can't tell you more about this blog, but the template totally worked and my nemo turned out fine! I guess the diy is by someone else but I can't find a proper source. :(

Here's how I did it:

Transfer the template to paper and cut the shapes out. I traced the shape through my screen onto paper, it's cheaper and you can choose the size :)
Cut out the body shape in orange felt. (2x)

Cut out the white pieces for the stripes and eyes.
If you want your nemo to be twosided, don't forget to cut out the white pieces twice.
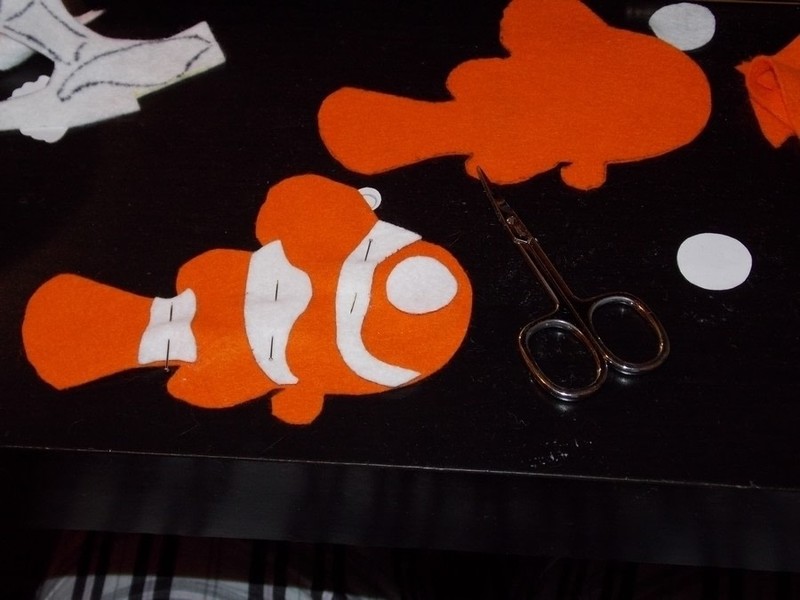
Pin the white pieces onto the body.

Handsew them on. Leave a gap open where the side fins will be, first stripe next to the eye, lower level.

If you want, do this for both sides.
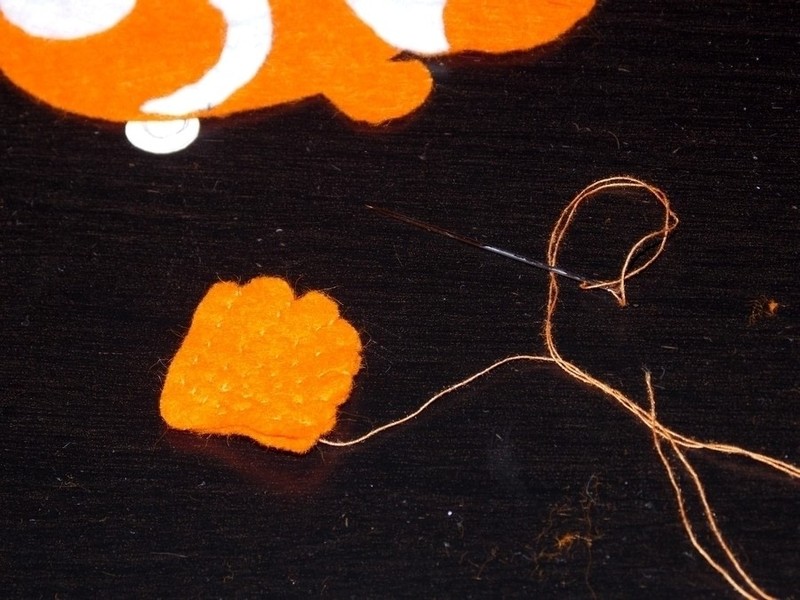
Make the fins by cutting out 4 of them (2 for each side). Sew two together. With that, try to stich straight lines from the peak to each ... you know.. the little gaps at the outer edges. :D It gives the fin its structure and makes it firmer.

Put the fin into the open part under the stripe and secure by handsewing.

Glue on the pupils.
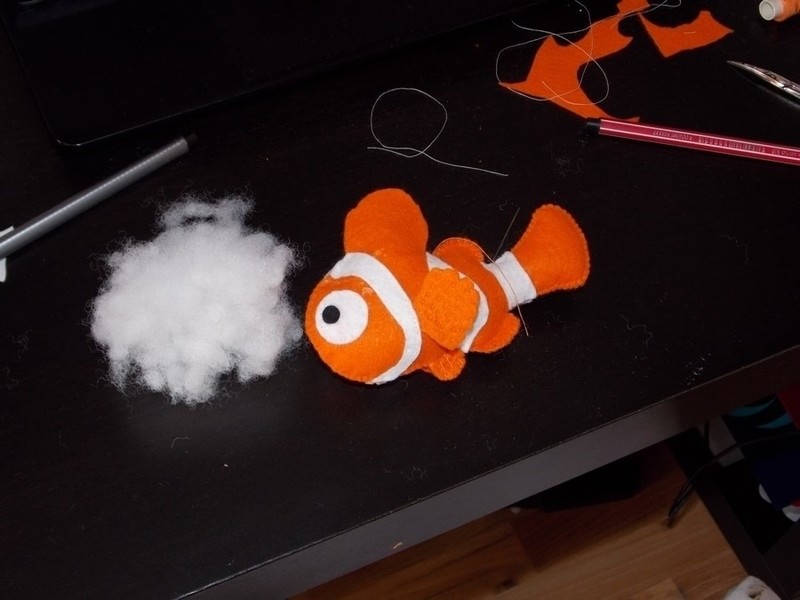
Begin handsewing the body parts together, leave a gap open and put stuffing in. Then close the gap.

Start defining the other fins by sewing straight lines.
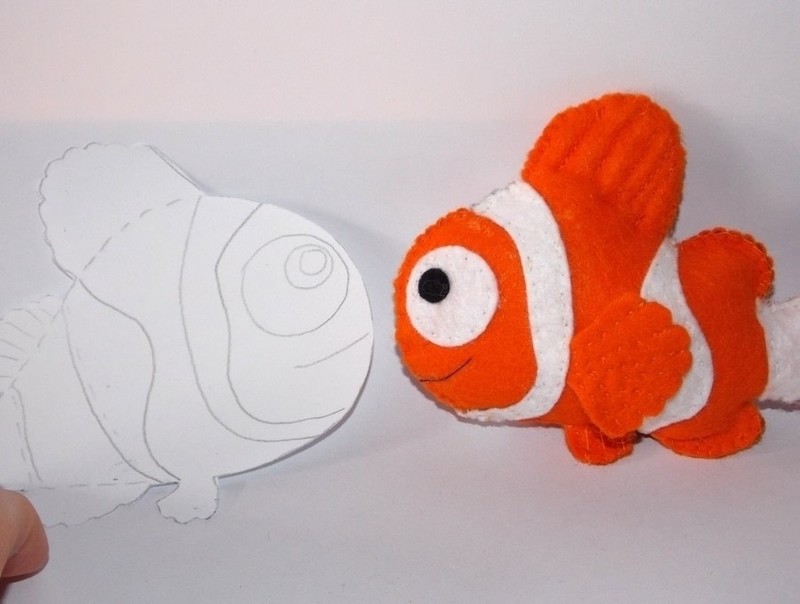
Aaaaand you're done! :)


Ach Gottchen, so süß! Wenn mein Neffe größer ist, geb ich mal einen bei dir in Auftrag. ;-)
ReplyDelete